Understanding the Basics of Fly Tying
What is Fly Tying?
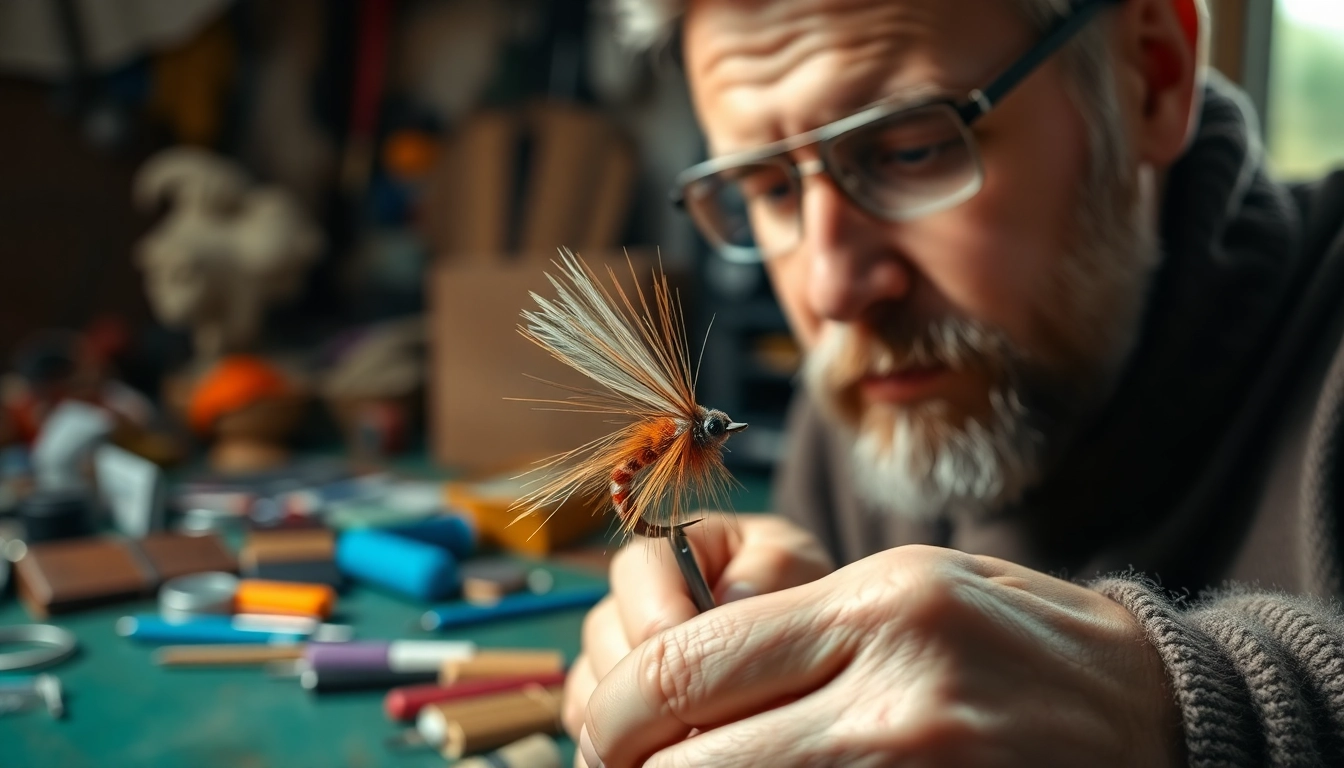
Fly tying is the art of creating artificial flies to be used as bait when fishing. These handmade lures mimic the appearance and behavior of insects, aquatic creatures, or other prey found in natural waters. As a skill that combines creativity, technique, and an understanding of fish behavior, fly tying appeals to both beginners and seasoned anglers. The beauty of fly tying lies in its versatility, allowing fishers to construct patterns that can target specific species and conditions effectively. For anyone interested in trying their hand at fly tying, understanding the fundamental concepts is crucial.
Essential Tools for Fly Tying
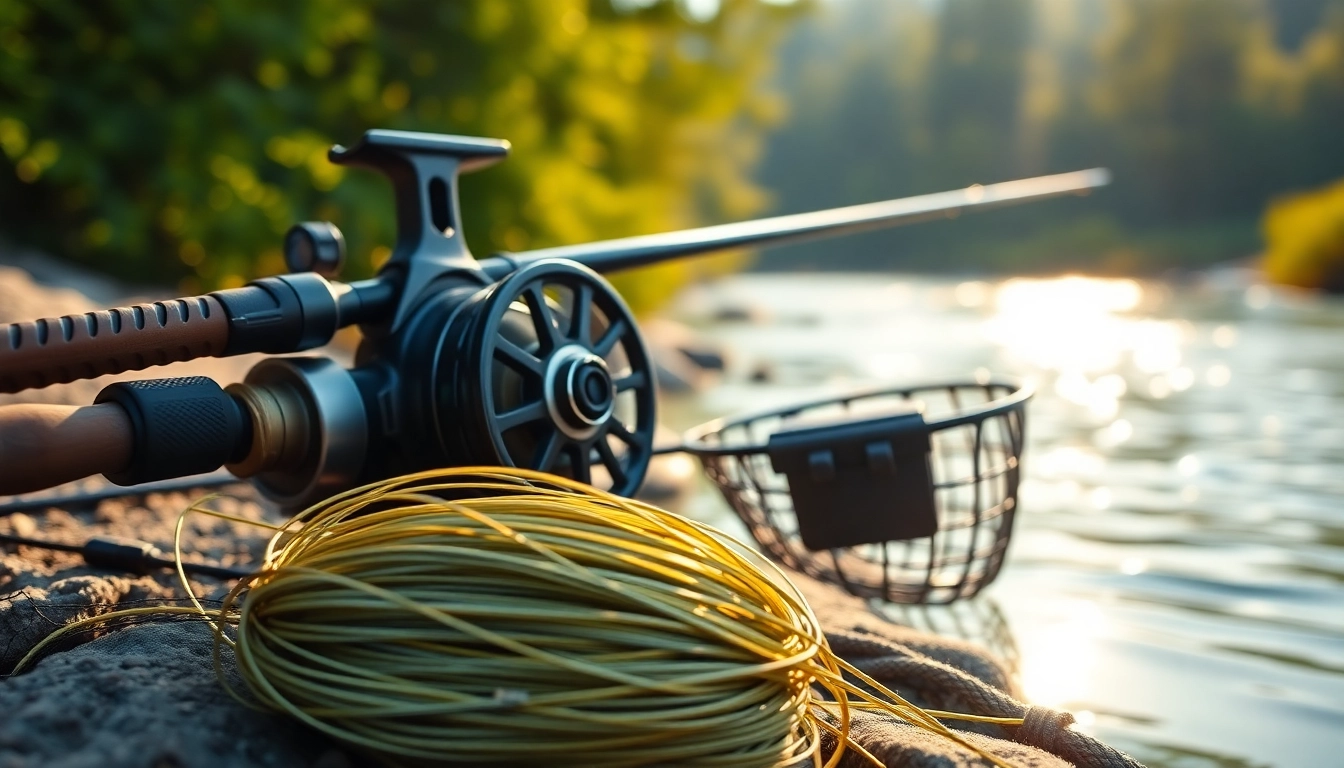
The right tools can make a significant difference in the fly tying process. Here are some basic tools every fly tyer should consider having:
- Vise: A fly tying vise holds the hook securely in place, allowing for precision in tying.
- Scissors: Sharp scissors are essential for trimming materials and ensuring clean cuts.
- Bobbins: Used to hold the thread, bobbins help manage the tension and length of the thread during the tying process.
- Hackle Pliers: These grasp feathers or materials and assist in wrapping them around the hook.
- Dubbing Twister: This tool is used to twist dubbing, allowing for greater texture in the fly’s body.
Common Materials Used in Fly Tying
The materials chosen can significantly impact a fly’s effectiveness. Here’s a breakdown of some common fly tying materials:
- Feathers: Often used for wings and tails, varying in texture and colors, they mimic natural insects.
- Fur: Natural fur creates body shapes and movement reminiscent of aquatic life.
- Threads: Available in various colors and thicknesses, threads hold materials together and create a base.
- Beads: Adding weight and color, beads help flies sink faster or attract attention.
- Foam: Lightweight and buoyant, foam is often used in dry flies to float on the water’s surface.
Basic Fly Tying Techniques
Simple Knots for Beginners
Learning to tie simple knots is essential for beginners. The improved clinch knot and the palomar knot are two popular choices for securing flies to the tippet. Mastering these knots not only enhances efficiency but also ensures that the flies remain securely attached while casting.
Start with Easy Patterns
As a beginner, it’s advisable to start with straightforward fly patterns. The woolly bugger, an all-purpose fly, is often recommended due to its versatility and ease of construction. Other simple flies include the Adams dry fly and the Carp fly. Each of these patterns provides the opportunity to develop foundational tying skills.
Tips for Thread Management
Good thread management is crucial for effective fly tying. Here are some tips to help beginners:
- Keep tension consistent to avoid loose or overly tight sections.
- Use thread wax to increase grip on materials.
- Don’t cut the thread too short; always leave enough length for future adjustment.
- Wrap the thread firmly but not excessively to maintain neatness.
Advanced Strategies for Effective Fly Tying
Creating Custom Fly Designs
Once you’ve mastered the basics, you can start to explore your creativity by crafting custom fly designs. Experimenting with various materials and patterns allows you to create flies tailored to specific regions or species. Consider referencing habitat and prey profiles to inform your designs—for example, matching the hatch can increase fishing success.
Incorporating Color Theory in Fly Tying
Understanding color theory can elevate your fly designs. Different colors attract different species based on their natural prey. Incorporate contrasting colors for visibility or match the hatch with colors that closely resemble local insects. Understanding hues and their effects on fish behavior can lead to more successful catches.
Combining Materials for Unique Flies
Combining materials is a hallmark of advanced fly tying. By mixing feathers, fur, and synthetic materials, you can create unique textures and movements in your flies. Experiment with layering techniques, such as using dubbing over a thread base or wrapping hackle around foam to enhance the fly’s aesthetics and functionality.
Troubleshooting Common Fly Tying Issues
Fixing Thread Breakage Problems
Thread breakage can be frustrating. To address this, check for any sharp edges on tools, ensure proper thread tension, and avoid tying in materials that are too heavy. Using higher-quality threads can also prevent breakage.
Dealing with Material Compatibility
Some materials may not bond well together. Always test materials for compatibility before starting a fly. Using thread to secure materials can help, but ensure that the dimensions and weights are appropriate to avoid unwanted bulking or sagging.
Adjusting Fly Sizes for Different Conditions
Fish behavior can vary based on the environment, necessitating adjustments in fly sizes. Smaller flies may work better in clearer, calmer waters, while larger flies can attract fish in murky conditions. Don’t hesitate to vary size and shape based on your observation of fish activity.
FAQs on Fly Tying
What is the best beginner fly to tie?
The woolly bugger is frequently recommended for beginners due to its simplicity and effectiveness.
How long does it take to learn fly tying?
With regular practice, many can grasp basic fly tying techniques in a few weeks to months.
What are essential tools needed for fly tying?
Key tools include a vise, scissors, and bobbins. Each plays a crucial role in the tying process.
Can I use substitutes for fly tying materials?
Yes, alternatives can be used effectively, especially when traditional materials are hard to find.
Is fly tying an expensive hobby?
Costs can vary, but starting with basic materials and tools can keep expenses manageable.